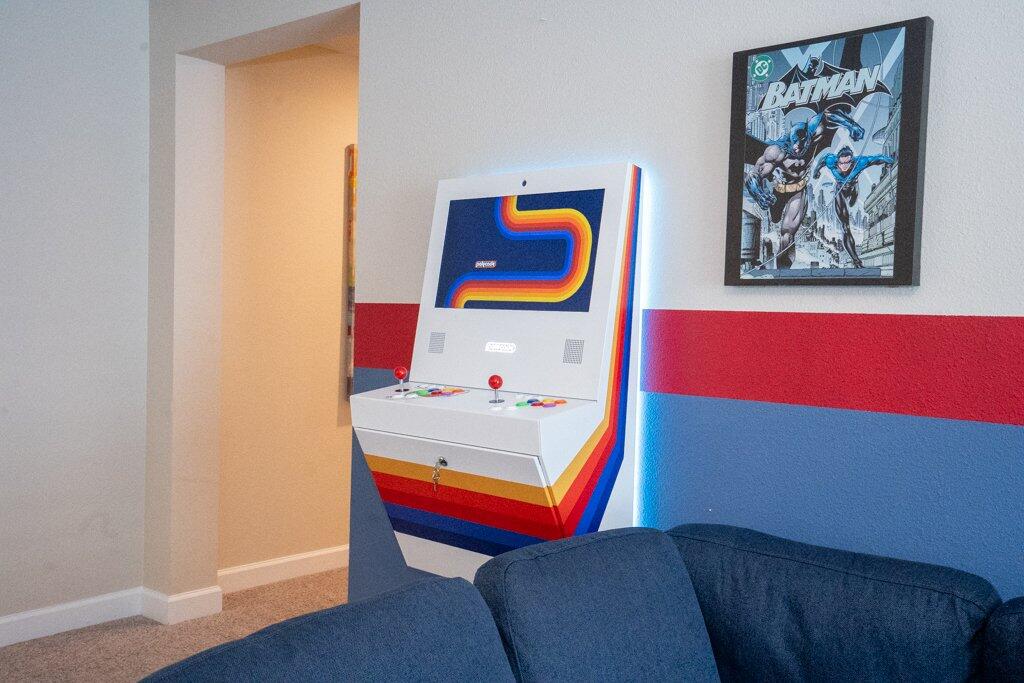
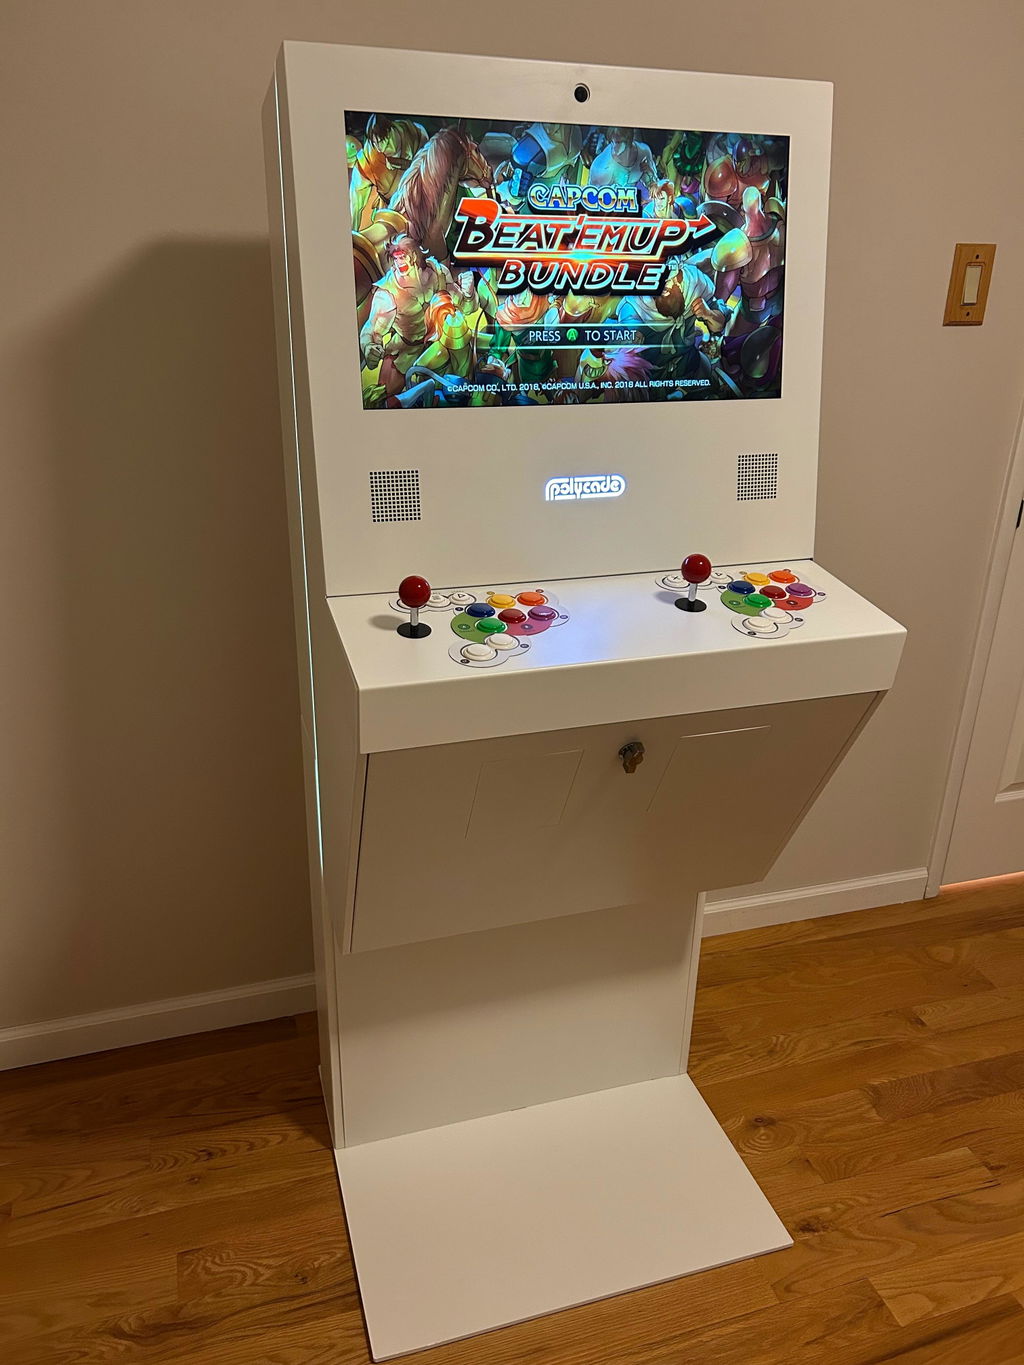
The Sente has allowed me to relive wonderful arcade experiences of my younger days. The included games are major hits from decades ago, but are still a blast to play till this day. All of the games play perfectly on the Sente and are mapped to the same buttons that the original arcade units used, so you can just load up Street Fighter Championship Edition and start brawling and having fun as intended. The included games are well curated, and purposefully selected for enjoyment. The major appeal of the arcade games is that they are easy to pick up, yet challenging, and really fun to play; you can get in a quick session if desired, or play many the games simultaneously with a friend. The Sente allows you to really experience the games as they were designed and intended- in arcade fashion, which is way more authentic and fun than on a console. I chose to purchase a stand for my Sente, which I really like, as it gives the whole unit an appealing, full-sized arcade look, and allows me to easily transport and place the unit anywhere in my home. I am very happy with my Sente, and it is a delight to play!
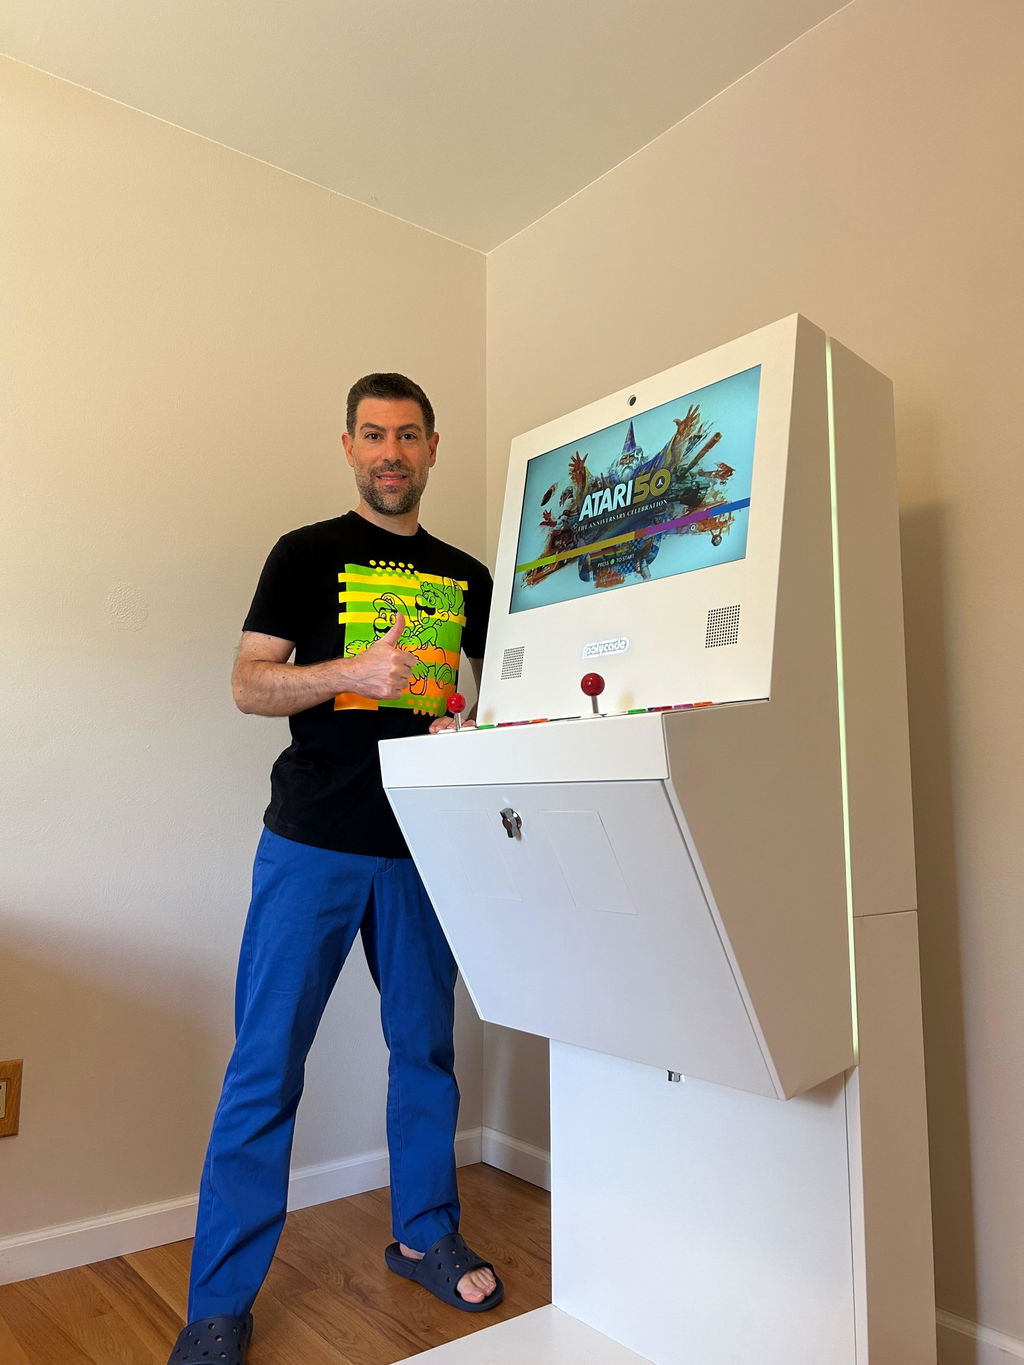
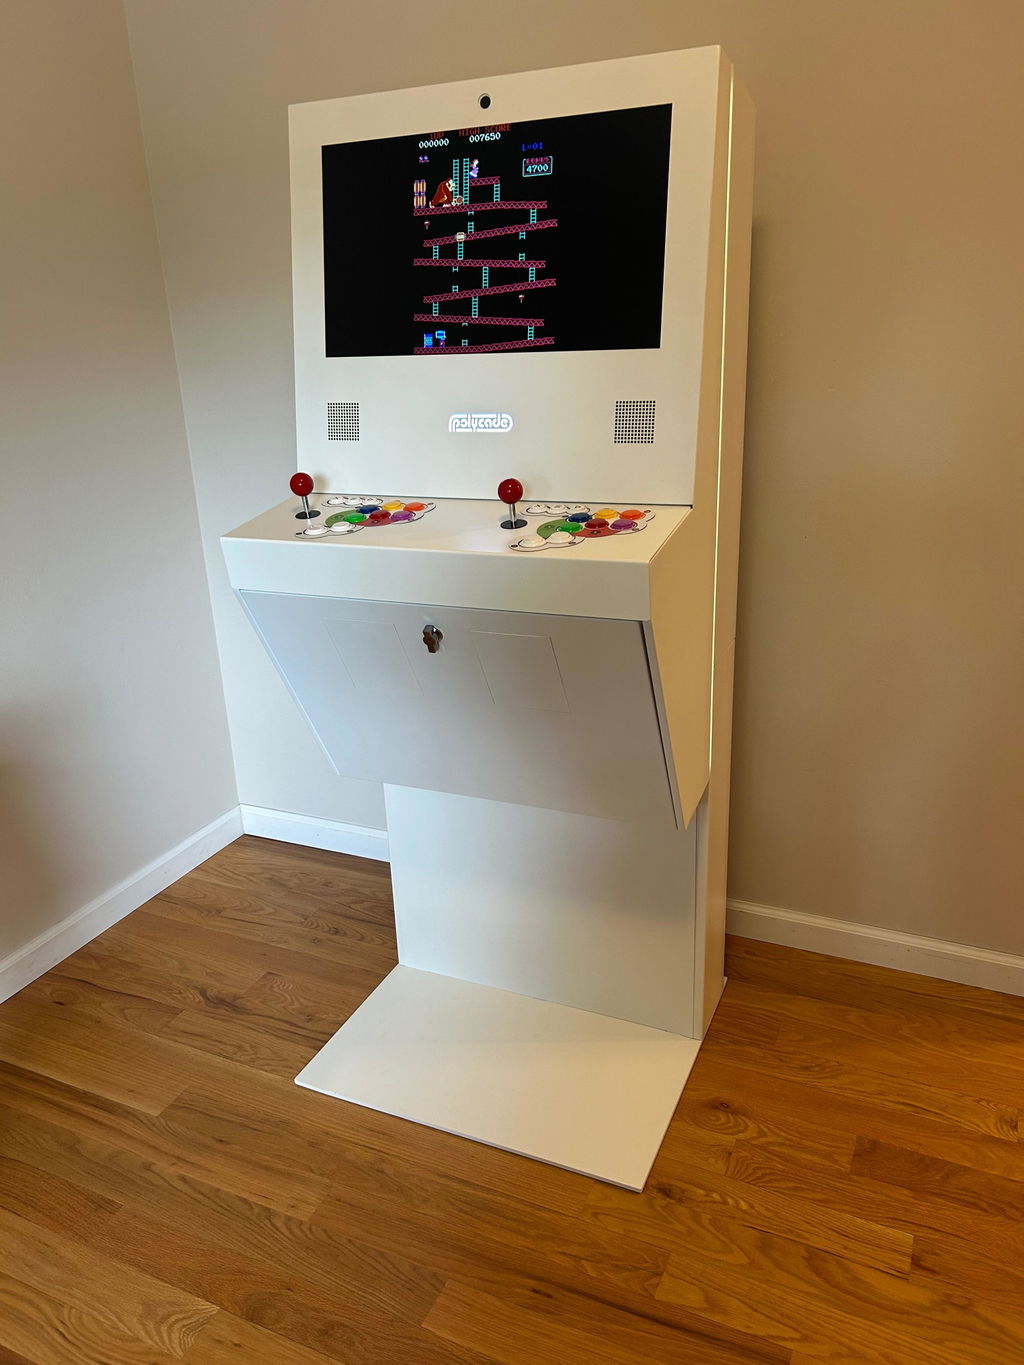
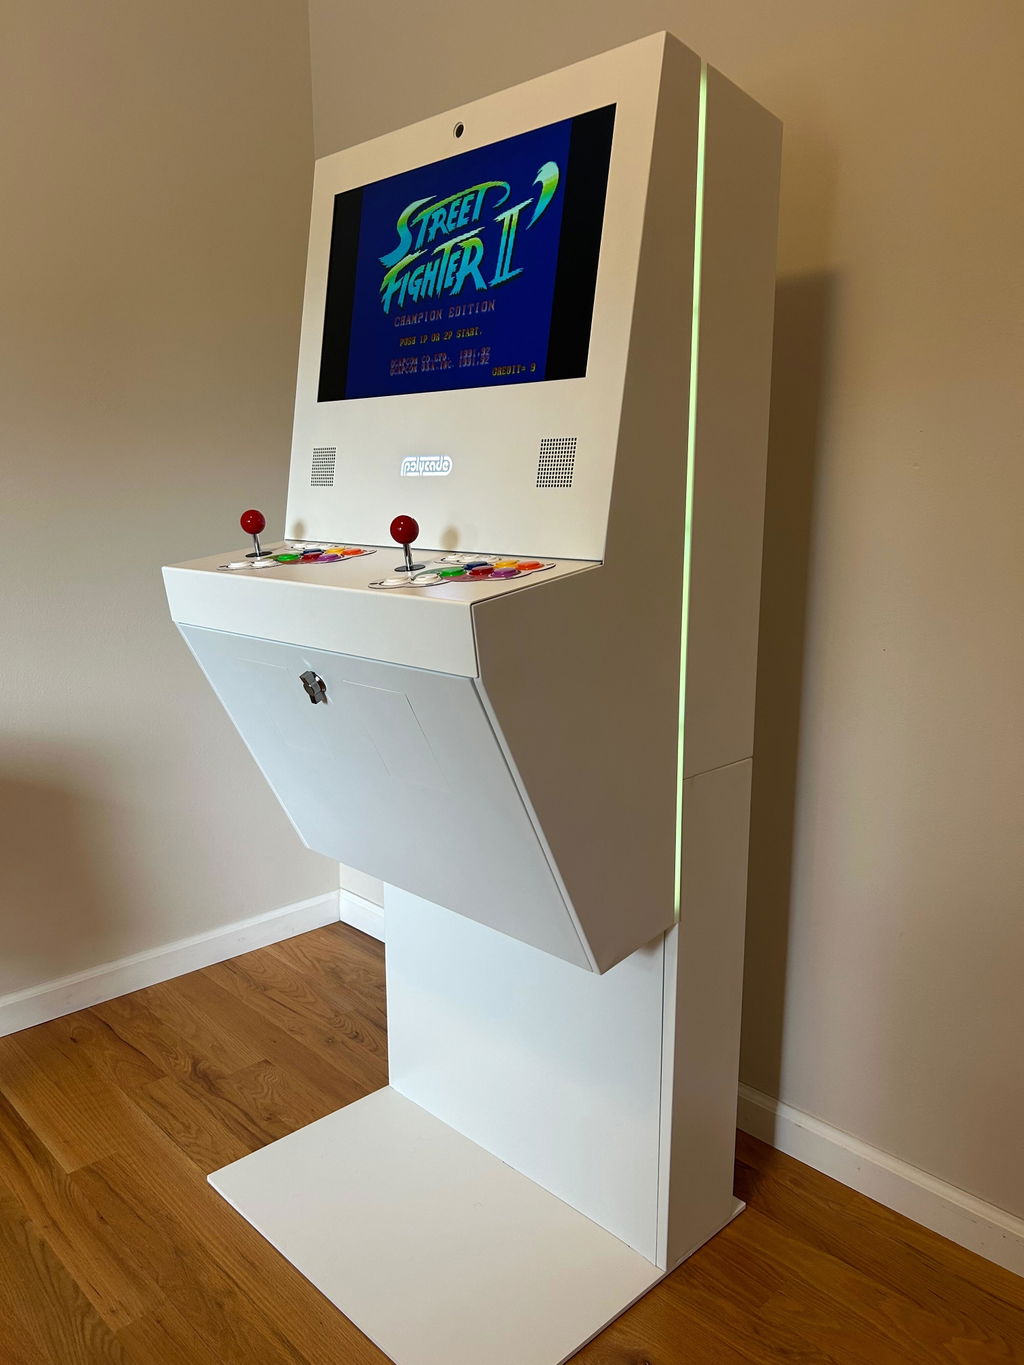
My using really wanted light guns for his birthday, I found these from polycade, they are well built, have a good feel in your hands and are just loads of fun! The colors are beautiful and the action is crisp and responsive! They are great!!
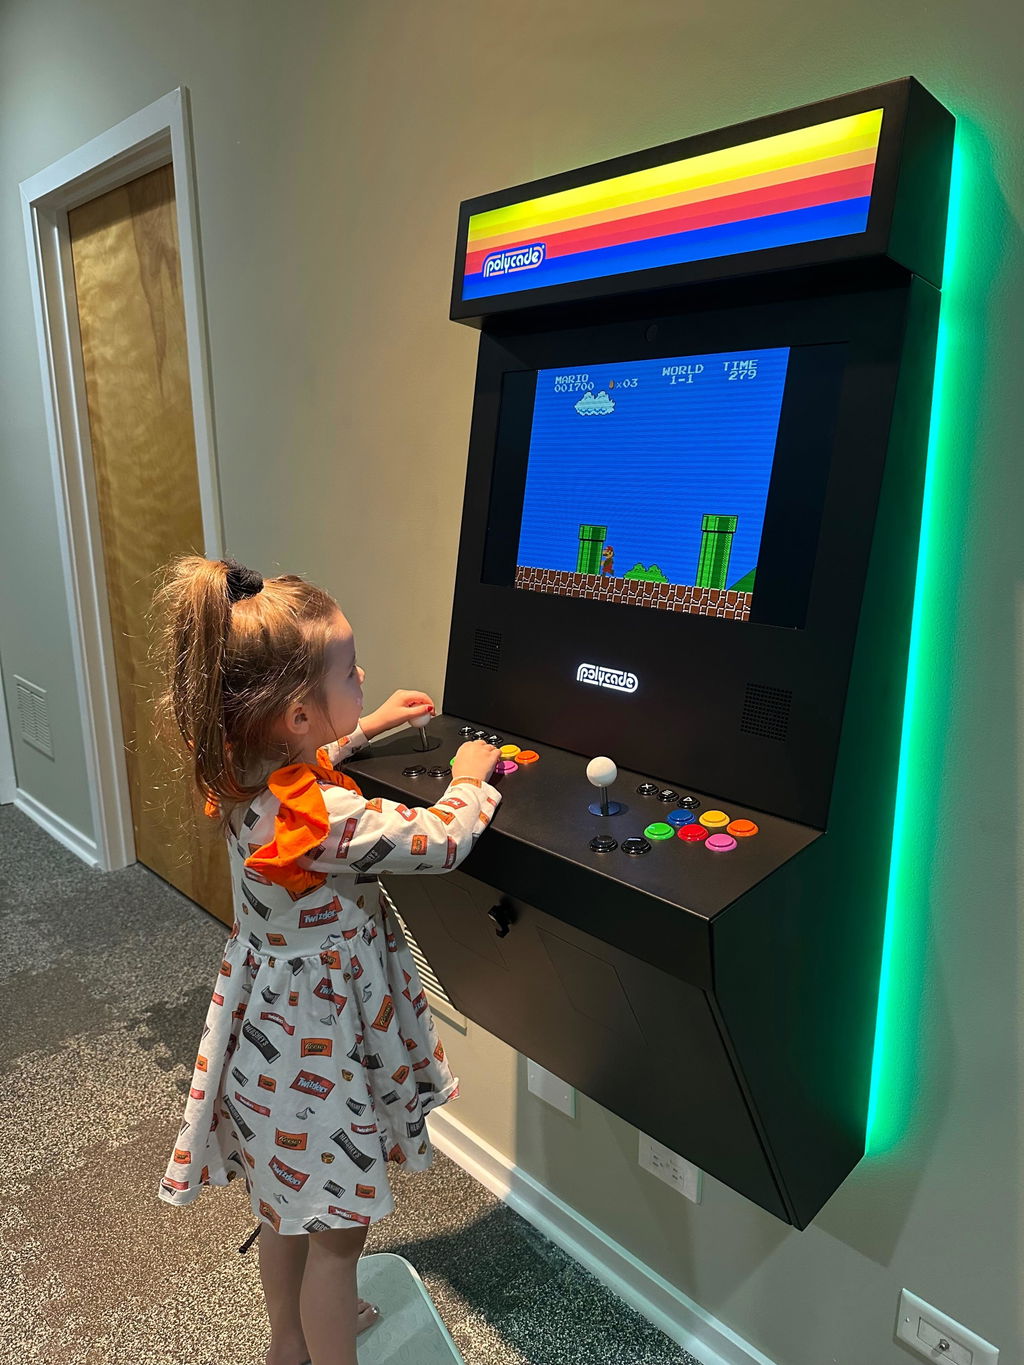
Purchased mine for the classics for nostalgia and never expected my five year old to love it more than I do! Best thing ever!
I am so happy with my Polycade. But even more mind blowing was the customer service I received, specifically from Tyler. I know a lot of questions can be answered by reviewing the FAQ’s on the website, but I had detailed questions and always prefer speaking to someone. Tyler was patient, thorough, and extremely knowledgeable of the product and tech specifications. He offered solutions and options I didn’t even know about, and walked me through the process with ease. Again, I cannot overstate how patient and awesome he was to work with on this. You hear that Polycade staff!?! Tyler deserves an award or a raise or BOTH if this is how he deals with all customers that call in… which I imagine he does. That’s it!… I just wanted to take a moment to write a review to sing the praises of the best customer service I think I have ever received. Thank you Tyler! You’re single handedly the reason I pulled the trigger on buying a Sente after much deliberation. I will be recommending this system, from a solid company… to everyone I know!!!
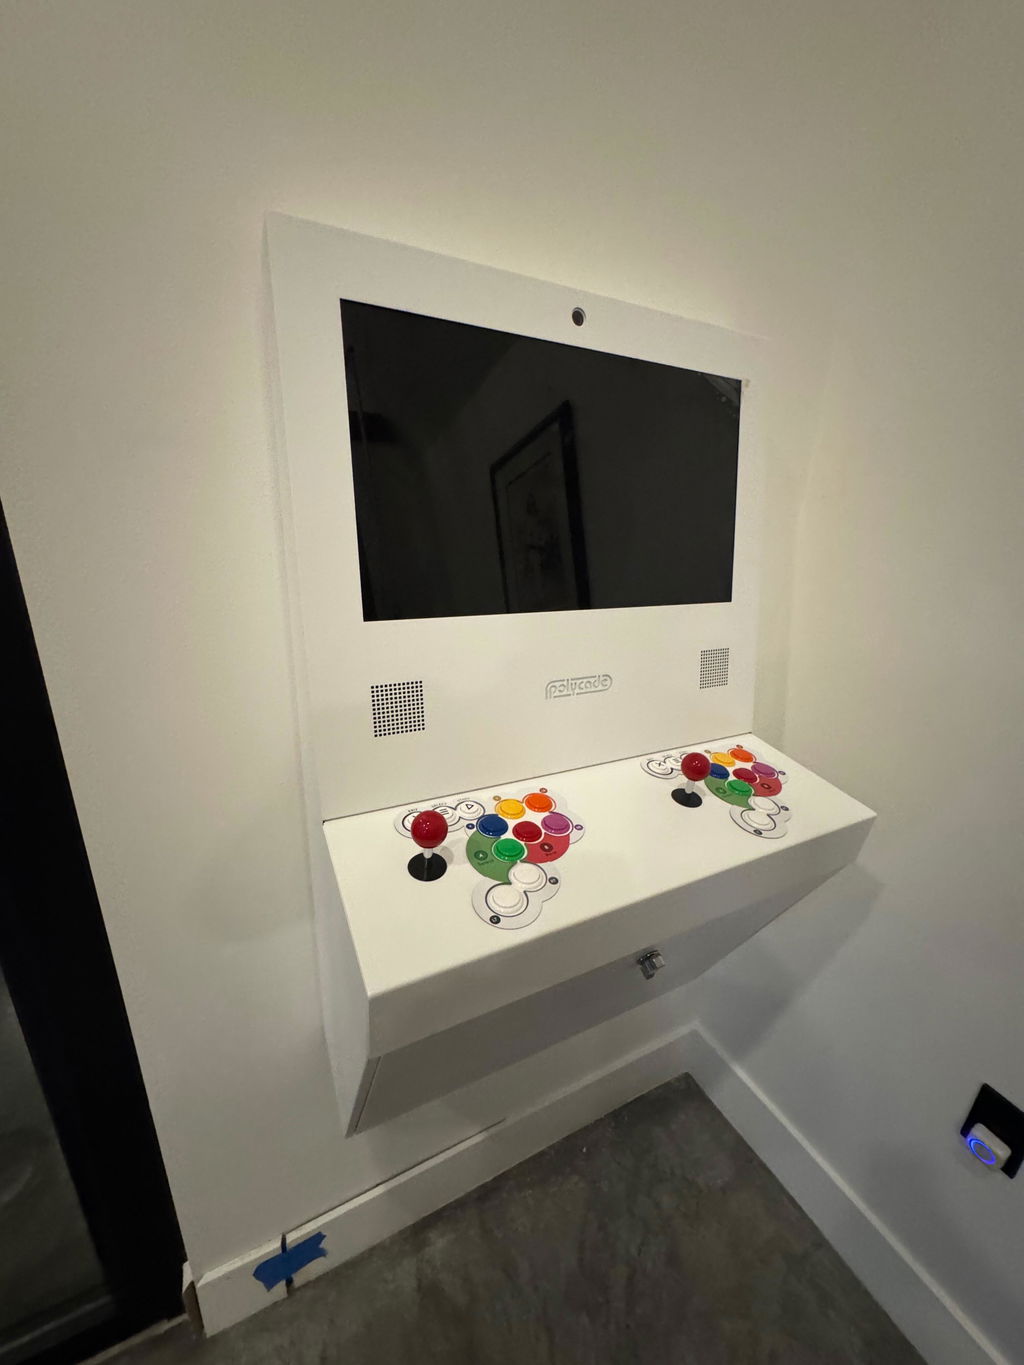
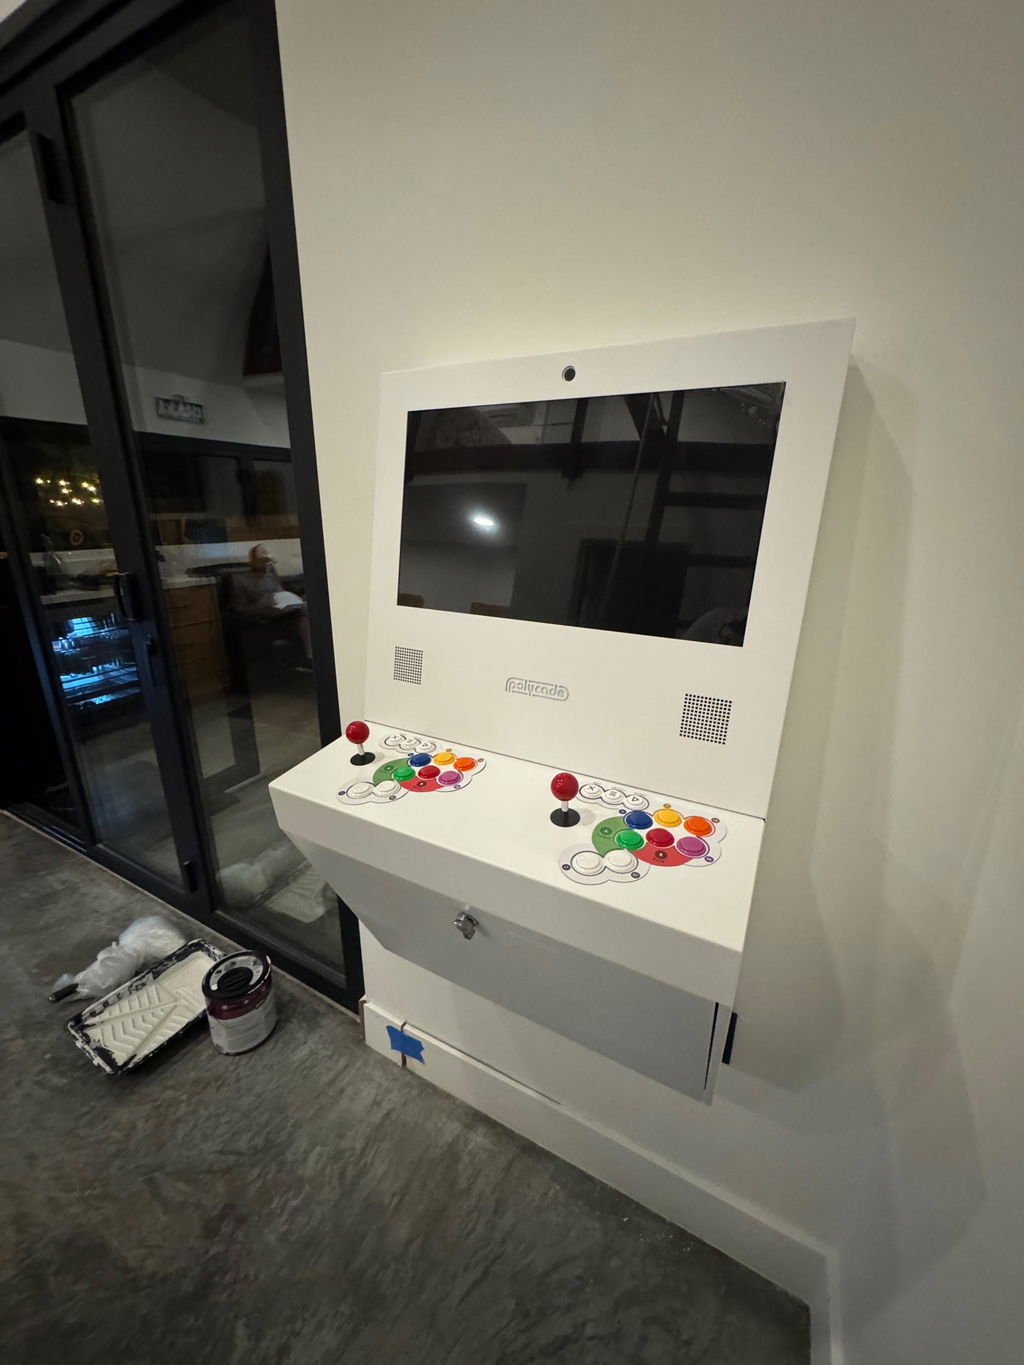
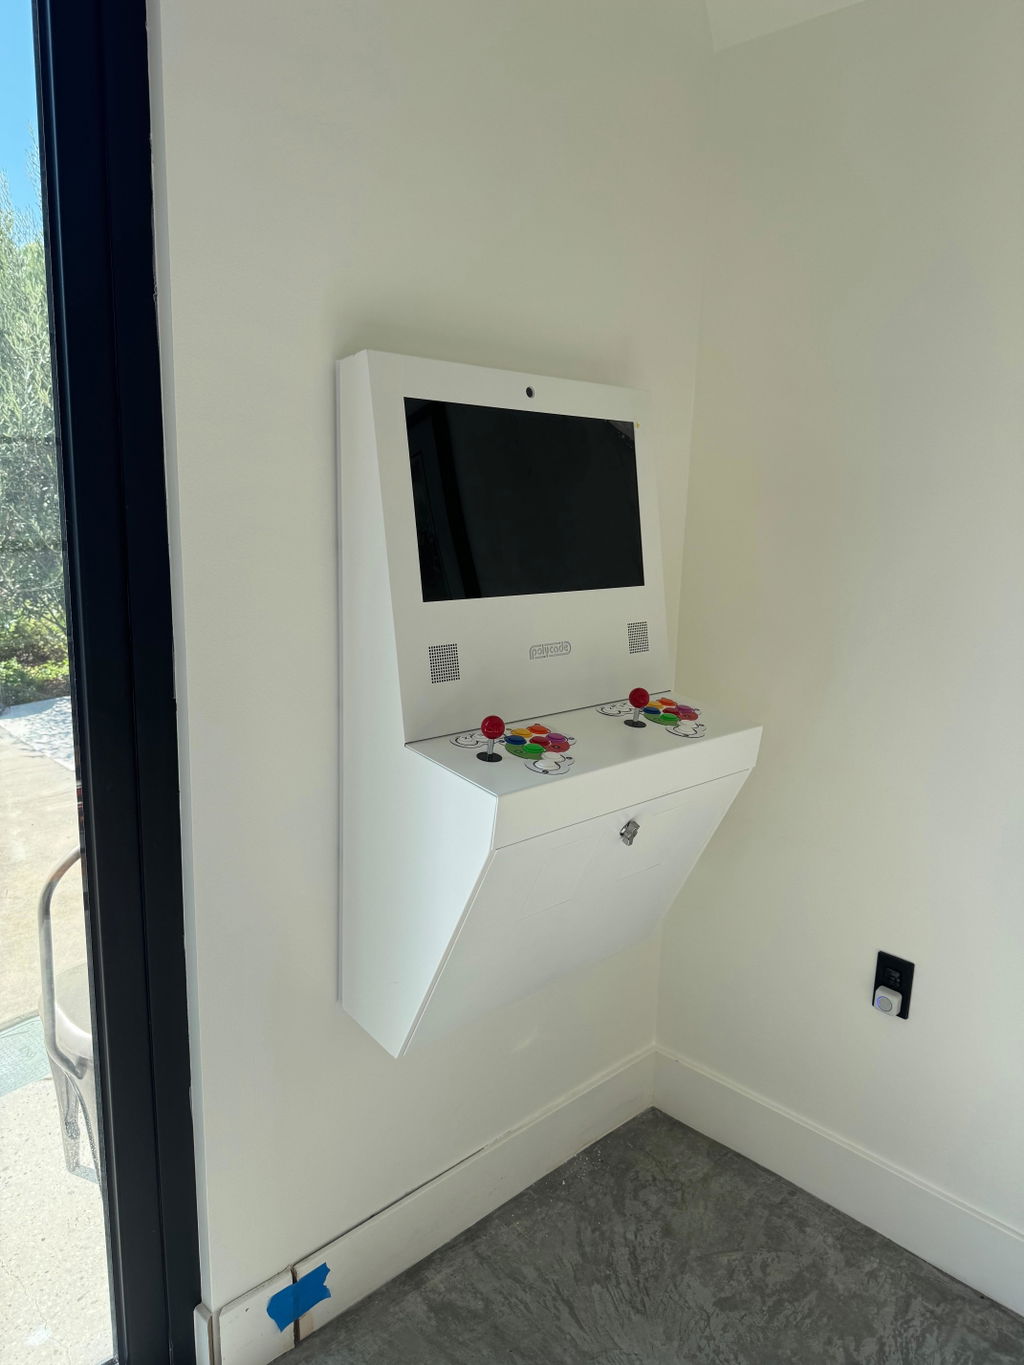
The Polycade Sente is exceptional! Endless fun playing retro classics and modern titles on the same machine. Truly exceeded my expectations. Initial set up is painless and Polycade's support team is super responsive for any questions.