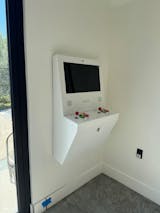
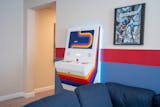
The digital marquee assembly is the most complicated of our assembly instructions. This guide assumes you have both the Digital Marquee Screen and the RetroGlow Marquee Topper.
- In order to begin installation of the digital marquee, ensure you have the RetroGlow Marquee, and it's detached from your Sente.
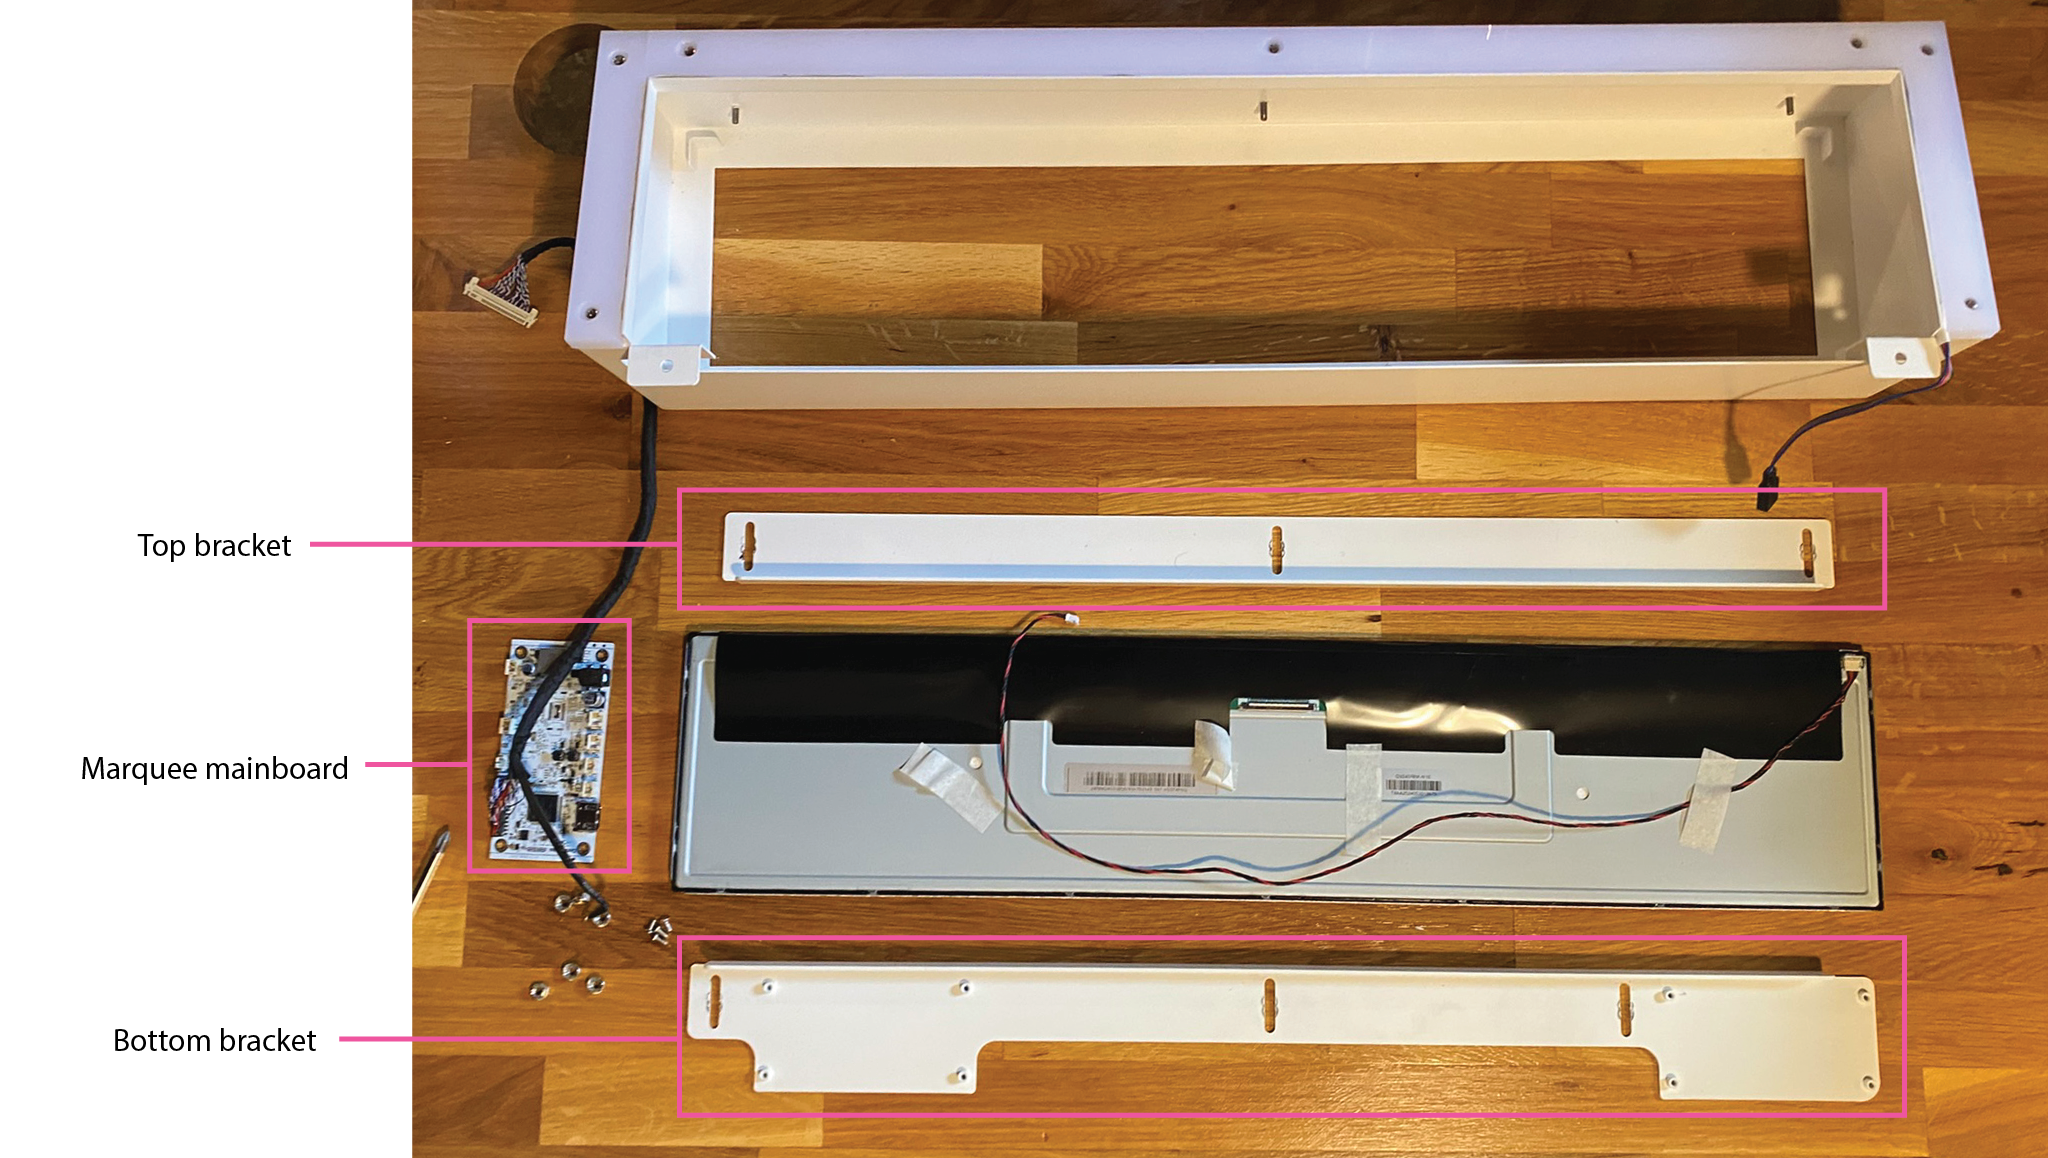
- Start by removing the top and bottom brackets inside the RetroGlow Marquee. Each bracket is held on by 3x 7mm nuts.
- With the brackets removed, you can now remove the LED panel and graphics that are included with the RetroGlow marquee. You can optionally decide to remove the transparent plastic piece in the front - we generally recommend removing it to get the best image.
4. Note the slot on the bottom of the RetroGlow enclosure.
5. Note the configuration of the screen in the image below - the large black section on the back of the marquee screen is the top.
6. Carefully pass the digital marquee screen through the slot on the bottom, and put it into place as shown below.
7. Connect the Video connector to the marquee mainboard, ensuring all pins on the mainboard are covered by the connector. See image below.
!! IMPORTANT !! Doing the next step wrong can permanently damage the controller board or the digital marquee screen.
8. Connect the red and black power cable from the screen as shown below. Triple check you are plugging this in the correct way, noting the red cable is on the correct side as shown below. If you get this wrong, the screen will be damaged beyond repair when you turn it on.
9. Next, mount the marquee mainboard PCB to the left side of the lower bracket using the included screws. Start with the first 3 screws in the order shown below, then move on to the next step for the 4th screw.
9A. For the 4th screw, first find the "ground cable", which is the black cable with a little metal loop at the end. Pass the screw through the metal loop and then screw it in to the 4th position so the ground cable is trapped between the screw and the circuit board.
10. Put the top bracket back in place. Screw the 3 nuts back on, pushing gently on the bracket in the process to ensure it's snug against the back of the screen.
11. Put the bottom bracket back in place, being mindful to keep the connected cables out of the way.
12. At this point, you'll want to follow the instructions to connect your RetroGlow marquee to your Sente. Stop when you get to step #6, and return to this guide. Click here for the RetroGlow marquee instructions.
Return here after completing RetroGlow Marquee setup
13. Now that you have the RetroGlow assembly connected to your Sente, we just need to complete the wiring. 3 cables will pass through the hole at the top corner of your Sente - the HDMI cable, the black and red power cable, and the blue/green/black brightness controller board cable. Ensure all of these cables have dropped all the way down into the lower section of the Sente. See image below.
14. From here, you'll want to mount your Sente (to the wall or stand). Once you have mounted your Sente, return to this guide for the final steps. Click here for mounting instructions.
Return here after mounting your Sente
15. Now that your Sente is mounted, you can easily access the front and inside of the cabinet. For this next part, you'll want to have the controllers removed.
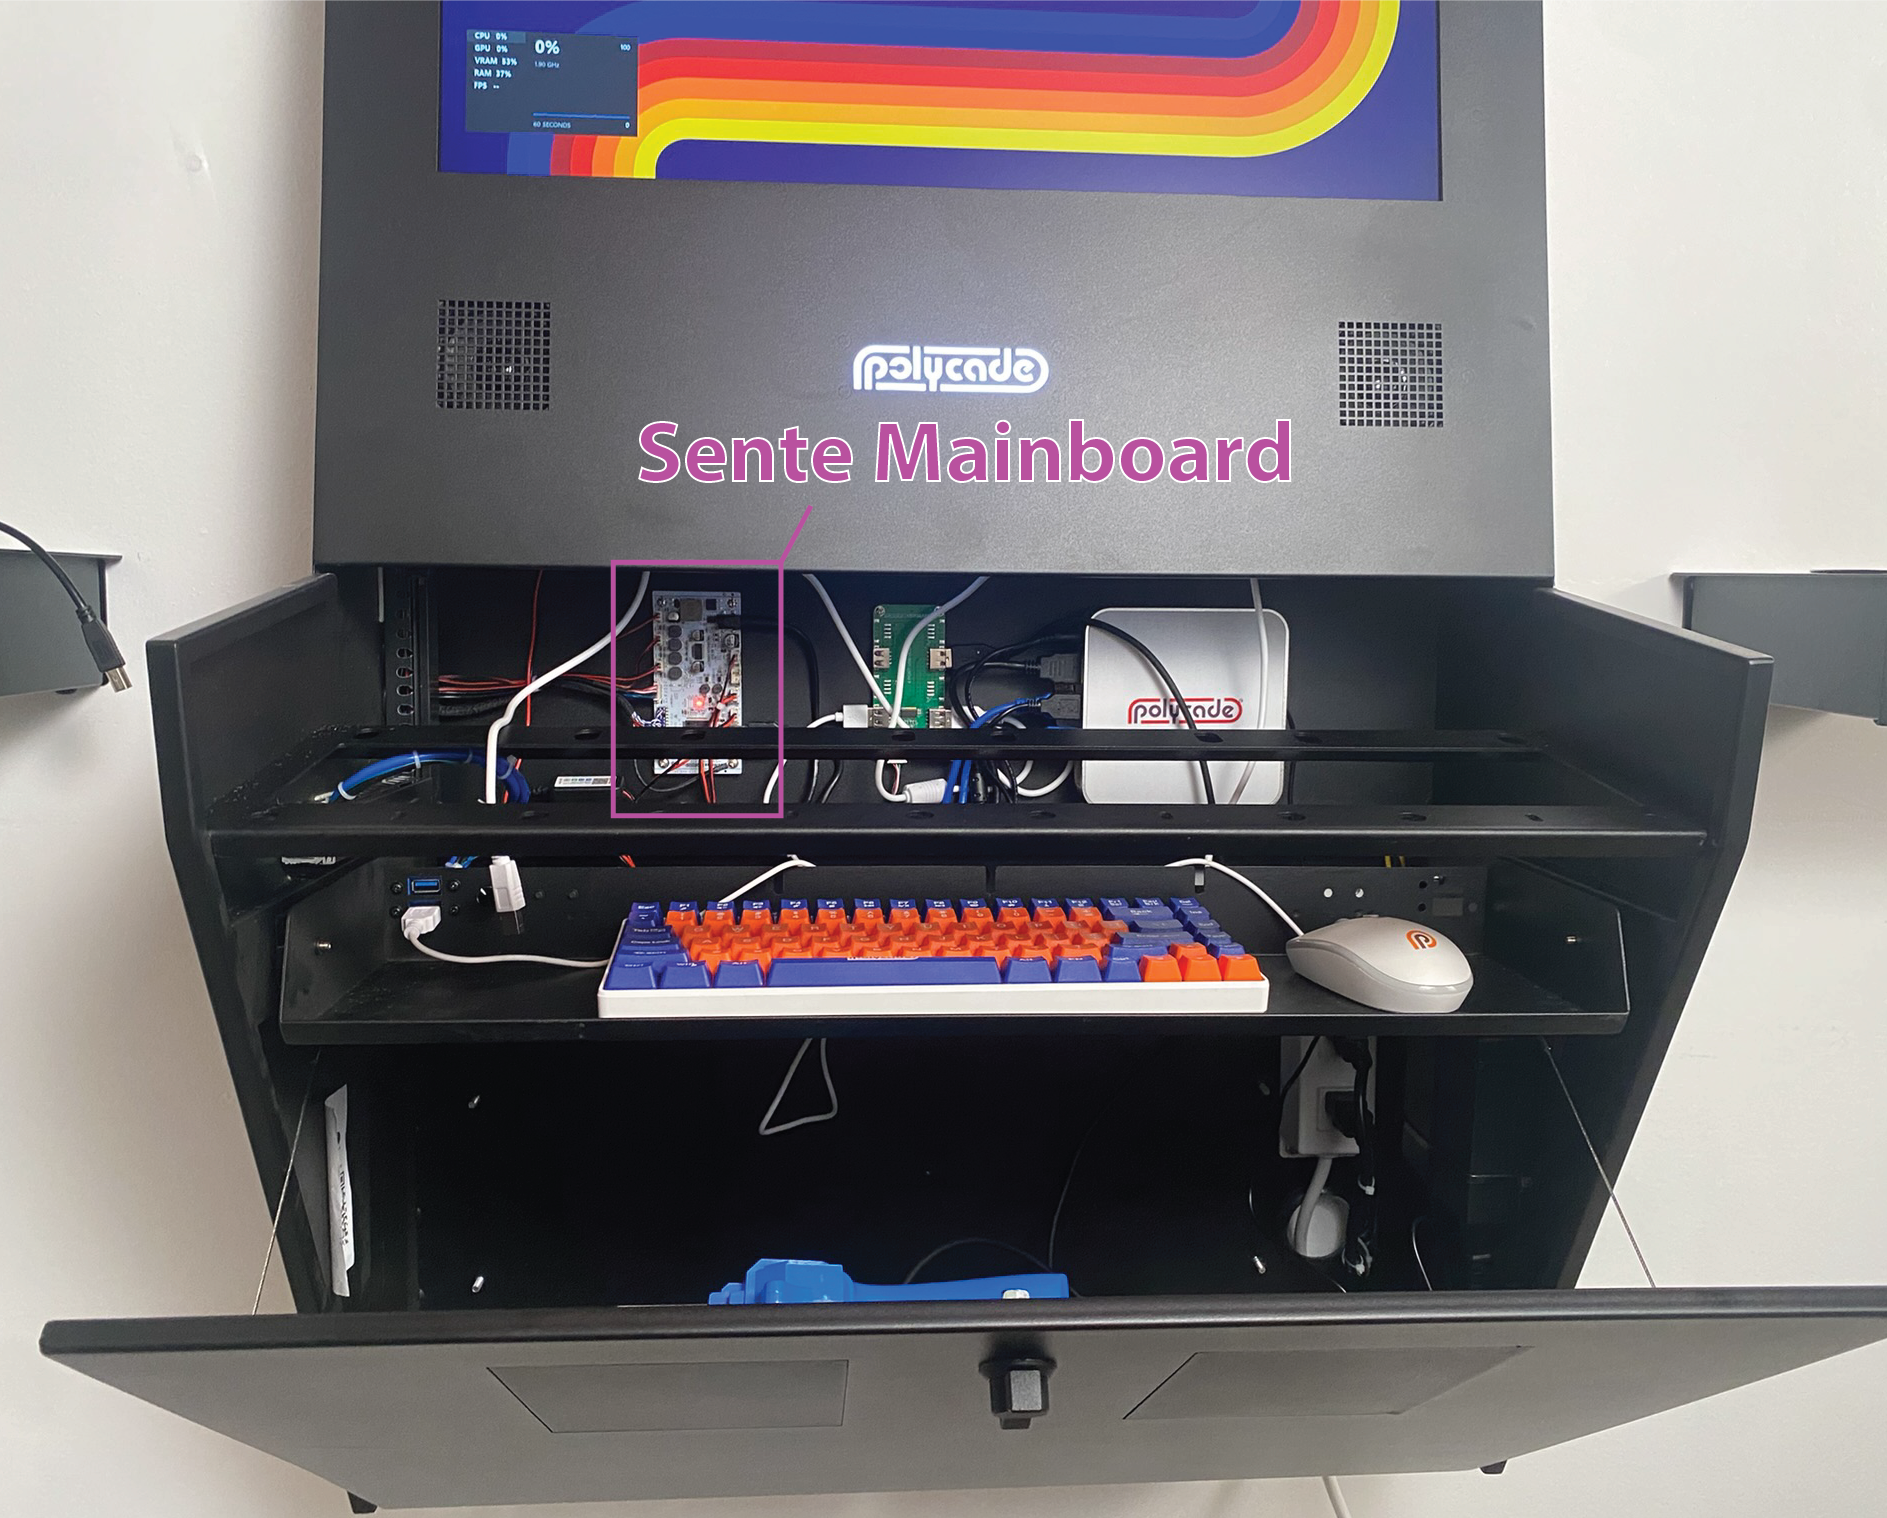
Find the mainboard at the back of your Sente (see below).
16. Find the red & black power cable from the digital marquee mainboard that we dangled down into the lower section of the Sente. Plug the red & black power cable into the Sente mainboard as shown below. Ensure the black cable is on top, and the red cable is on bottom. Doing this incorrectly will cause permanent damage to your marquee mainboard.
Note that there are two versions of the mainboards, depending on which one you have, they look a little different. If you have the v2 Sente mainboard, then you'll want to plug this power connection into the RED connector on the Sente mainboard.
17. Next, plug the marquee HDMI cable into the HDMI->DP adapter that was included with the digital marquee. Then plug the adapter into the DP port (there's only 1) on your mini PC.
18. Open the drawer all the way and mount the brightness controller board on the little tab at the back right side of the drawer using the included screws.
19. Lastly, we'll need to adjust some settings in Windows. Start by exiting Polycade AGS or pressing WIN+D on your keyboard. Next, follow the steps in the images below.
20. Double check your display settings. Press WIN+I on your keyboard. Next, select "System" from the left side menu.
21. Click "Display" from the the right side options. Make sure the "1" display is on top of the "2" display. Also ensure the "2" display is set as the "Primary" display. See image below.
22. You're done! If you have any issues, please see these two help center articles:
Marquee screen doesn't turn on.
Arcade games launch on marquee screen.


