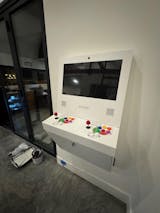
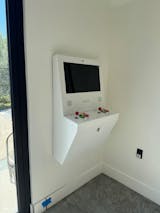
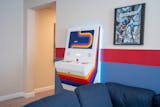
I am so happy with my Polycade. But even more mind blowing was the customer service I received, specifically from Tyler. I know a lot of questions can be answered by reviewing the FAQ’s on the website, but I had detailed questions and always prefer speaking to someone. Tyler was patient, thorough, and extremely knowledgeable of the product and tech specifications. He offered solutions and options I didn’t even know about, and walked me through the process with ease. Again, I cannot overstate how patient and awesome he was to work with on this. You hear that Polycade staff!?! Tyler deserves an award or a raise or BOTH if this is how he deals with all customers that call in… which I imagine he does. That’s it!… I just wanted to take a moment to write a review to sing the praises of the best customer service I think I have ever received. Thank you Tyler! You’re single handedly the reason I pulled the trigger on buying a Sente after much deliberation. I will be recommending this system, from a solid company… to everyone I know!!!
The Polycade Sente is exceptional! Endless fun playing retro classics and modern titles on the same machine. Truly exceeded my expectations. Initial set up is painless and Polycade's support team is super responsive for any questions.


